
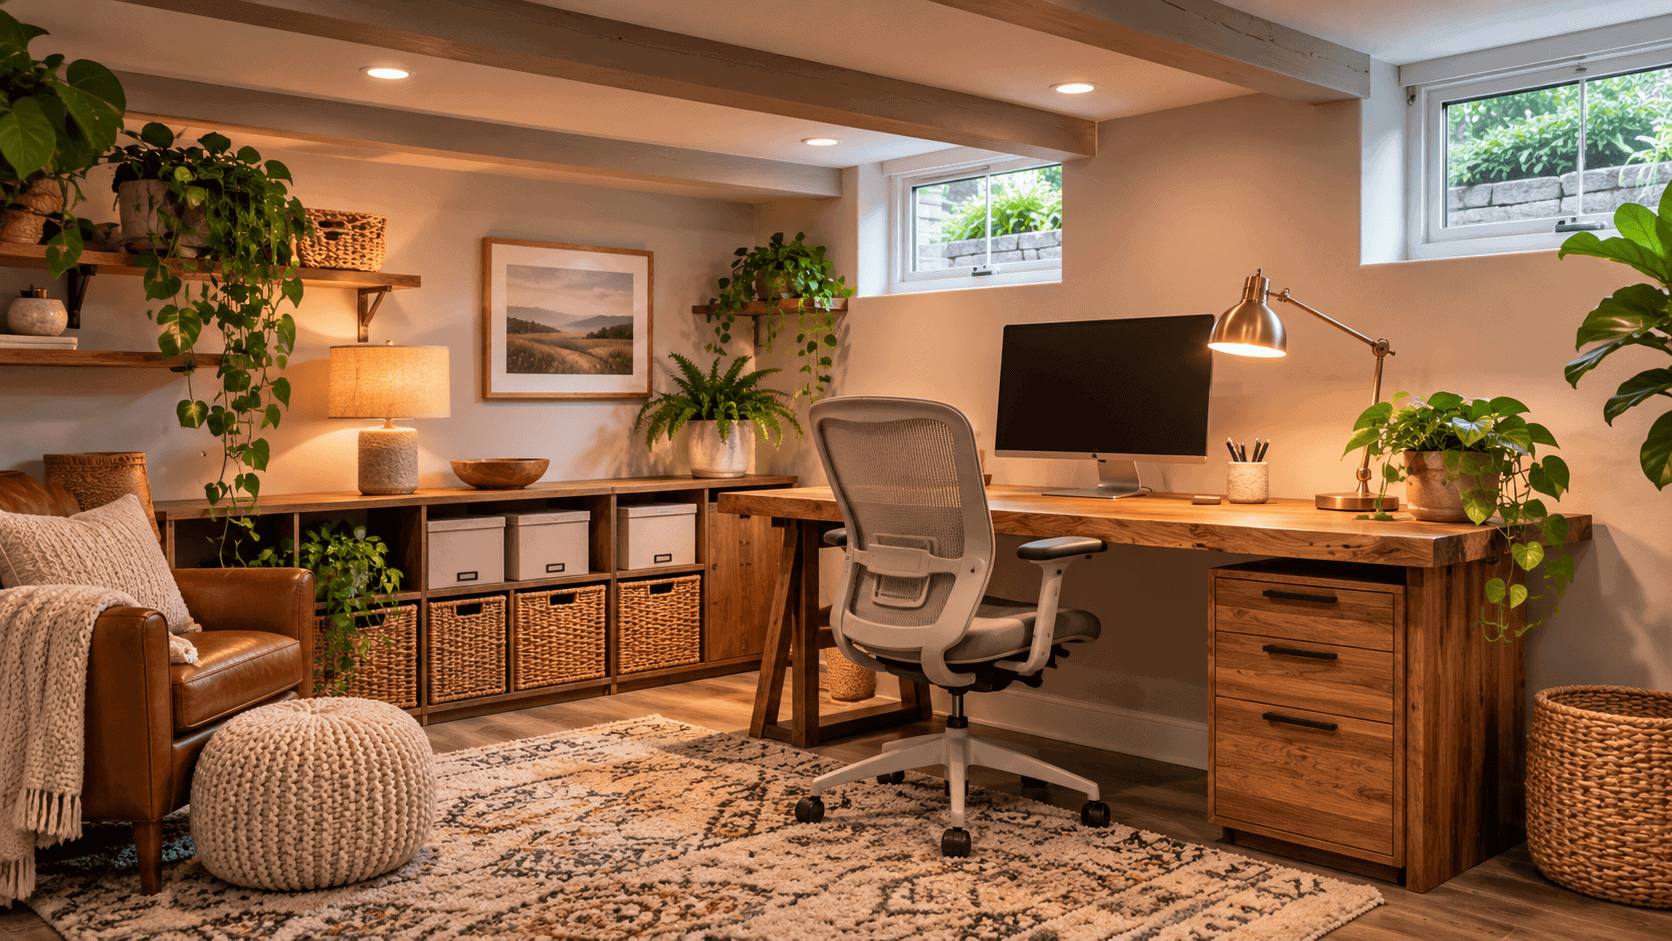
I have spent years helping people rethink rooms they had written off. The basement comes up more than any other. It sits below the main floor and gets little light, and it often ends up as storage for boxes nobody opens. Yet it holds some of the best square footage in a house, and most of it goes unused.
This is how I Turn a Dim Basement Into a Workspace You Will Love. Moisture, light, color, layout and a few small details all play a part in a room that feels good at nine in the morning and at four in the afternoon. Each of those pieces is simple on its own, and together they change how a basement feels. You can do this on a modest budget with a clear plan and some patience. I start with the room itself and then build up one stage at a time, and that order keeps small mistakes from piling up.
Start With an Honest Look at Your Basement Space
Before I pick a single paint chip, I walk the room with a notebook. I look at ceiling height, windows, outlets and any corner where the air feels heavy. This one hour of notes saves me from costly surprises later, and it gives me a clear picture of what the room can and cannot do.
Basements behave differently from upstairs rooms. They stay cooler, they hold sound and they can trap damp air. A workspace has to feel comfortable for long hours, so these quirks matter more here than in a spare bedroom. If you want a structured starting point, the 100 Things 2 Do page describes a basement office makeover in a beginner-friendly way. It can be a helpful read before you sketch your own plan.
What I Check During the Walk-Through
- Ceiling height and any low beams or ducts
- The number and position of outlets
- Natural light sources and which way they face
- Signs of damp such as stains or a musty smell
- Floor type and how cold it feels underfoot
Keep these notes close because every later choice, from lamps to rugs, will rely on them. I often tape a rough sketch of the room next to the notes and mark where the desk might go. When a decision gets hard later on, I go back to that page and the answer is usually already there.
Fix Moisture and Comfort Before You Decorate
Moisture is the problem I see most often in basements. I never paint or lay flooring until I know the room is dry, because trapped dampness can undo good design in a single season. We wrote about this in our post on action steps for moisture, and the same thinking applies here. Start with simple checks. Look for stains on walls, white powder on concrete and a musty smell near the floor. A small hygrometer costs little and shows your humidity level. A common target is roughly 30 to 50 percent indoors.
Simple Moisture Controls
- Run a dehumidifier sized for your floor area
- Seal visible cracks in walls and floors
- Keep gutters clear and point downspouts away from the foundation
- Use a moisture resistant underlay beneath any flooring
- Check the readings on your hygrometer every few days
If you see active leaks or repeated flooding, call a qualified contractor before you spend anything on decor. Cosmetic fixes cannot replace proper drainage. Comfort matters too, because a cold room makes long work sessions miserable. Extending existing ducts or adding a space heater with tip-over protection are two common options for steady heat, and I pick whichever suits the room’s wiring and size.
Bring In Light That Makes a Basement Feel Open
Dim is the word that describes most basements, so light deserves real attention. I plan it in layers, with several sources that each do their own job. One ceiling fixture is rarely enough to carry a whole room, and it tends to leave dark corners that make the space feel smaller than it is.
Layer Your Lighting
Ambient light fills the room, and recessed lights or flush mounts on a dimmer work well. Task light sits at the desk, and an adjustable lamp is usually enough. Accent light, like a small sconce or a strip behind a shelf, adds warmth. For bulbs, I pick a neutral white around 3500 to 4000 kelvin for the desk area. Warmer bulbs suit a reading corner, and mixing bulb temperatures in one zone can look messy, so I keep each zone consistent.
Make the Most of Natural Light
Even a small window helps. Clear it of boxes, hang sheer curtains and place a mirror on the opposite wall to push daylight deeper into the room. If you have a window well, clean the glass and trim back any plants outside. Light colored surfaces carry that daylight further, so color is the next thing I settle once the lighting plan is in place.
Choose Colors and Finishes That Lift the Mood
Color changes how a low room feels. Warm whites and soft grays lift the walls and make the ceiling seem higher, and gentle greens work well too. Our Scandinavian design posts lean on this idea, with pale woods and muted tones that keep a space calm. I always test paint samples on two walls and look at them in the morning and the evening. Artificial bulbs change how paint reads, and a color that looks fresh in the store can turn gray under a cool light.
Floors, Walls and Ceiling
- Luxury vinyl plank or cork feels warmer underfoot and copes with damp better than solid hardwood
- Washable satin paint on the walls handles scuffs and cleans easily
- Flat bright white on the ceiling reflects the most light
Add one or two accents so the room does not read flat. A wood shelf, a deep green chair or a framed print can give the space a personal feel without crowding it. I keep the accents to a small area near the desk, so the eye has somewhere pleasant to rest during the workday. The rest of the room stays quiet and simple.
Plan a Layout That Supports Focused Work
A workspace runs best with clear zones. I place the desk where it gets the most light and keep it away from the furnace or laundry noise. If your basement is open, a bookshelf or a decorative panel can divide the work area from the rest. We shared ideas on this in our post about decorative partitions and wall panels.
Build the Work Zone
- A desk around 29 inches high with room for your knees
- A monitor at arm’s length with the top near eye level
- A chair with lumbar support and your feet flat on the floor
- A cable tray or clips to keep cords off the floor
Once the desk is set, I walk the path from the stairs to the chair and make sure nothing blocks it. Storage should sit within arm’s reach of the desk, so papers and supplies never pile up on the work surface. A clear path and a tidy desk make the room feel larger than its measurements.
Calm the Sound
Concrete and hard floors bounce noise around. A thick rug, fabric wall panels and heavy curtains soak up echo, and a bookshelf full of books helps too. These small changes make video calls clearer and the room more restful, and they cost far less than most people expect. I add them last, once the furniture is in place, so I can hear what the room still needs.
Set a Realistic Budget and Timeline
Basement projects stay manageable when you break them into stages. I suggest working from the structure outward so later steps do not damage earlier ones. This order has served me well on many rooms, and it keeps you from repainting a wall you just scuffed while hauling in a desk.
- Dry the space and repair any leaks
- Hire a licensed electrician for new outlets or wiring
- Paint the ceiling and walls
- Install the flooring
- Set up lighting
- Bring in furniture and decor
I also price the big items first, such as flooring and electrical work, because those numbers shape every other choice. I keep receipts in one folder so I can see where the money went.
Set aside a contingency of about 10 to 15 percent of your budget. Basements tend to hide surprises behind old walls, and a cushion keeps the project calm when one appears. I write the number at the top of my budget page before I spend anything, so it never gets used up by accident. Spread the work over several weekends if you need to. Paint and rugs can come first and the pricier furniture can wait. A short priority list also helps you skip impulse buys that do not fit the plan.
Turn a Dim Basement Into a Workspace You Will Love Starting This Weekend
A forgotten basement can become the best room in your home. The steps are simple. Study the space, fix moisture first, layer your lighting, choose calm colors, arrange a smart layout and work in stages with a small budget cushion. These steps need only a bit of planning and a willingness to go in order.
I have seen how much a room can change once these basics are in place. People who once avoided the stairs end up choosing the basement for their most focused work. The space feels private and quiet, and it belongs fully to them. That change usually shows up within a few weekends of steady effort, and it tends to build on itself as each corner gets finished.
So pick one task and start this weekend. Grab a notebook, walk the room and write down what you see. Order a hygrometer, test two paint samples or clear the window well. Each small job makes the next one easier. Once the first corner feels good, the rest of the room tends to follow, so take that first step and let the basement start working for you.